
Flutter is a modern UI toolkit by Google that allows developers to build beautiful, fast, and natively compiled applications for mobile, web, and desktop from a single codebase. At the core of Flutter lies a very powerful concept called widgets. In Flutter, almost everything you see on the screen—text, buttons, images, layouts, padding, margins—is a widget.
For beginners, understanding widgets is the most important step in learning Flutter. Among all widget types, two concepts often create confusion: Stateful Widgets and Stateless Widgets. These two determine how your app behaves, updates, and responds to user interaction.
This article is written with a beginner-first mindset. We will focus more on explanation than just code, use real-world examples, and explain when and why you should use each widget type.
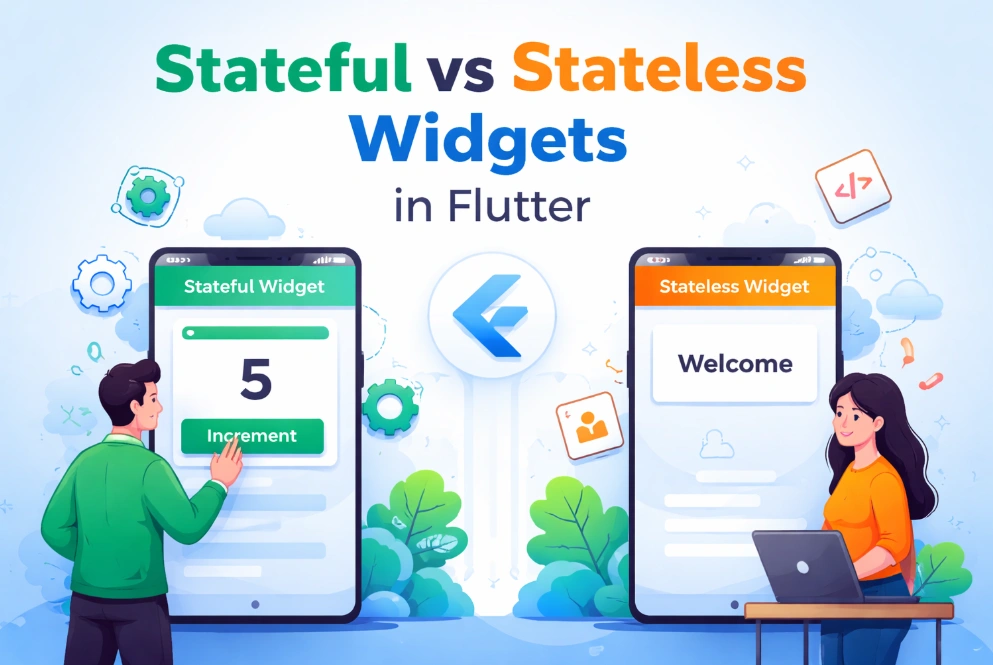
Stateful vs Stateless Widgets at a Glance
| Aspect | Stateless Widget | Stateful Widget |
|---|---|---|
| Definition | UI that does not change after build | UI that can change during runtime |
| State Handling | No internal state | Maintains mutable state |
| UI Updates | Only rebuilds when parent changes | Rebuilds when setState() is called |
| User Interaction | Not suitable for interaction-based changes | Ideal for user interaction |
| Performance | Lightweight and faster | Slightly heavier but optimized |
| Complexity | Simple and easy to maintain | More complex due to lifecycle |
| Lifecycle | Very limited lifecycle | Full lifecycle (initState, dispose) |
| Best Use Case | Static text, icons, layout widgets | Forms, counters, toggles, animations |
| Real-World Example | App title or welcome message | Login form or counter app |
| Beginner Recommendation | Use by default when possible | Use only when UI must change |
What Does “State” Mean in Flutter?
Before comparing Stateful and Stateless widgets, we must clearly understand what state means.
In simple terms, state is data that can change over time. If something in your app can change while the app is running—such as text, color, number, or UI layout—then that change is considered state.
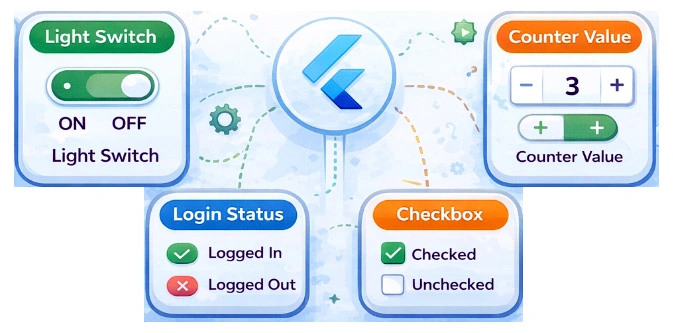
Examples of state in real life:
• A light switch (ON or OFF)
• A counter value (0, 1, 2, 3…)
• Login status (logged in or logged out)
• A checkbox (checked or unchecked)
Flutter widgets may or may not depend on state. This is where Stateless and Stateful widgets come in.
What Is a Stateless Widget?
A Stateless Widget is a widget that does not change once it is built. Its UI is static and depends only on the information provided to it at creation time.
In other words, if the data inside the widget never changes, then you should use a Stateless Widget.
Key Characteristics of Stateless Widgets
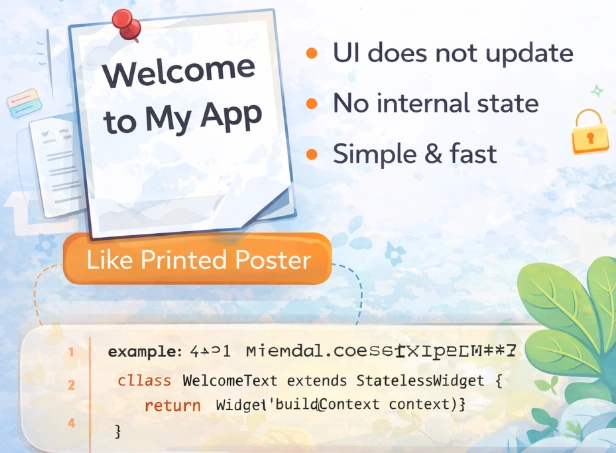
• UI does not update automatically
• No internal state
• Simple and lightweight
• Faster to render
• Easier to test and maintain
Stateless widgets are ideal for fixed UI elements like headers, icons, static text, images, or layout structures.
Real-World Example of a Stateless Widget
Think of a printed poster. Once printed, the text and design do not change unless you print a new one. That is exactly how a Stateless Widget works.
For example, a welcome text like:
“Welcome to My App”
This text does not change dynamically. So it should be created using a Stateless Widget.
Simple Stateless Widget Example
The following widget displays a static greeting message:
class WelcomeText extends StatelessWidget {
  @override
  Widget build(BuildContext context) {
    return Text(
      'Welcome to Flutter',
      style: TextStyle(fontSize: 24),
    );
  }
}
Here, the widget builds once and never changes unless the entire widget tree is rebuilt from outside.
What Is a Stateful Widget?
A Stateful Widget is a widget that can change its UI during runtime. It maintains a mutable state, meaning its appearance can update when the data changes.
Whenever the state changes, Flutter automatically redraws the widget to reflect the new data.
Key Characteristics of Stateful Widgets
• UI can update dynamically
• Contains internal state
• Uses setState() to refresh UI
• Ideal for interactive elements
• Slightly heavier than Stateless widgets
Stateful widgets are essential for building interactive and responsive applications.
Real-World Example of a Stateful Widget
Consider a counter app. Every time the user taps a button, the number increases. Since the displayed number changes over time, this requires a Stateful Widget.
Another example is a login form. When the user enters text, checks a box, or submits the form, the UI reacts to those changes.
Basic Stateful Widget Structure
A Stateful Widget is made up of two classes:
• The widget class (immutable)
• The state class (mutable)
class CounterWidget extends StatefulWidget {
  @override
  _CounterWidgetState createState() => _CounterWidgetState();
}

class _CounterWidgetState extends State<CounterWidget> {
  int counter = 0;

  @override
  Widget build(BuildContext context) {
    return Column(
      children: [
        Text('Counter: $counter'),
        ElevatedButton(
          onPressed: () {
            setState(() {
              counter++;
            });
          },
          child: Text('Increase'),
        ),
      ],
    );
  }
}
Here, calling setState() tells Flutter that something has changed, and the UI should be rebuilt.
Beginner Insight – When State Actually Matters
As a beginner, a good rule of thumb is simple:
If the UI never changes → use Stateless Widget
If the UI can change → use Stateful Widget
Understanding this difference early will help you write cleaner, more efficient Flutter code and avoid unnecessary complexity.
Stateful vs Stateless Widgets – Core Differences Explained
Now that you understand what Stateful and Stateless widgets are, it is time to compare them side by side in a practical and beginner-friendly way. Many beginners struggle not because Flutter is hard, but because they are unsure which widget to choose and why. This section will remove that confusion.
How Flutter Treats Stateless Widgets Internally
A Stateless Widget is immutable. That means once Flutter builds it, the widget itself cannot request an update. Flutter assumes that the widget’s output will always be the same for the same input.
When a Stateless Widget is rebuilt, it happens only because:
• Its parent widget rebuilds
• New data is passed from outside
• The widget tree above it changes
The widget itself has no control over rebuilding. This makes Stateless Widgets predictable, fast, and safe for static UI.
This design is very efficient and matches Flutter’s philosophy of rebuilding UI frequently without performance loss.
How Stateful Widgets Manage UI Changes
Stateful Widgets are different because they own a State object. This State object stores data that can change during the app’s lifecycle.
When something changes inside the State class, Flutter does not automatically update the UI. You must explicitly tell Flutter by calling setState().
Calling setState():
• Marks the widget as dirty
• Triggers a rebuild of that widget only
• Updates the UI efficiently
This controlled rebuild mechanism is what makes Flutter both powerful and performant.
Lifecycle Difference (Beginner Perspective)
You do not need to memorize lifecycle methods at the beginning, but understanding the idea helps a lot.
Stateless Widget Lifecycle
A Stateless Widget has a very simple lifecycle:
• Constructor is called
• build() method runs
• Widget is displayed
That’s it. No updates, no internal changes.
Stateful Widget Lifecycle
A Stateful Widget has a richer lifecycle because it needs to handle changes:
• createState() is called
• initState() runs once (setup logic)
• build() runs (UI rendering)
• setState() triggers rebuilds
• dispose() cleans up resources
Even if you are a beginner, knowing that Stateful Widgets can manage resources like animations, streams, and controllers is very important.
Performance Considerations (Simple and Practical)
A common beginner myth is that Stateful Widgets are slow. This is not true.
Flutter rebuilds widgets, not the entire screen. Whether a widget is stateful or stateless, Flutter only redraws what needs to change.
However, best practice is:
• Use Stateless Widgets whenever possible
• Use Stateful Widgets only where interaction or dynamic data exists
This approach keeps your code clean, readable, and easier to maintain.
Real-World Use Cases Compared
Use Stateless Widgets When:
• Displaying static text or images
• Creating UI layout structures (Row, Column, Padding)
• Showing icons or labels
• Building reusable UI components without logic
Example: App title, footer text, profile avatar image.
Use Stateful Widgets When:
• Handling user input
• Updating counters or timers
• Showing loading indicators
• Managing form validation
• Responding to button clicks
Example: Login form, counter app, toggle switch, dropdown menu.
Beginner Mistake – Overusing Stateful Widgets
Many beginners wrap entire screens inside Stateful Widgets even when only a small part changes. This is not wrong, but it is not optimal.
A better approach is:
• Keep most UI Stateless
• Isolate state only where needed
• Pass data down using constructors
This pattern improves readability and follows Flutter’s recommended architecture.
Practical Thinking Pattern for Beginners
Before writing any widget, ask yourself:
“Will this widget change while the app is running?”
If the answer is no, use Stateless Widget.
If the answer is yes, use Stateful Widget.
This single question can solve 80% of beginner confusion.
Thinking Like a Flutter Developer – Practical Patterns and Real-World Scenarios
In this final part, we will connect everything you have learned to real-world Flutter development. As a beginner, your goal is not just to understand definitions, but to make correct decisions while building apps. This section focuses on practical thinking, real use cases, and clean architecture from a beginner-friendly perspective.
Real-World Scenario- Login Screen
Let’s imagine a simple login screen with:
• Email input field
• Password input field
• Login button
• Loading indicator
Not everything here needs to be Stateful.
The layout, labels, icons, and spacing are static. These should be Stateless Widgets. However, the parts that change—like loading state or error messages—require state.
Best practice approach:
• Screen layout → Stateless Widget
• Form logic → Stateful Widget
• Buttons → Stateless Widgets receiving callbacks
This separation makes your app easier to debug and scale.
Refactoring Example: From Bad to Better
A common beginner mistake is writing everything inside one big Stateful Widget.
Problem:
class LoginScreen extends StatefulWidget { ... }
Everything changes together, even UI parts that never update.
Better approach:
class LoginScreen extends StatelessWidget { ... }

class LoginForm extends StatefulWidget { ... }
This structure follows Flutter’s philosophy: keep state as local as possible.
Understanding setState() Properly
setState() is not magic. It does only one thing: it tells Flutter that something inside this widget has changed.
Important beginner rules:
• Call setState() only when UI should change
• Never put heavy logic inside setState()
• Keep state updates small and focused
Bad practice:
setState(() {
  fetchDataFromApi();
});
Good practice:
fetchDataFromApi().then((result) {
  setState(() {
    data = result;
  });
});
This keeps your UI smooth and predictable.
Stateful Widgets vs State Management (Beginner Insight)
As apps grow, managing state only with Stateful Widgets becomes difficult. That is why Flutter offers state management solutions like Provider, Riverpod, Bloc, and others.
But as a beginner, you should first master Stateful and Stateless widgets. They are the foundation.
Think of it like this:
• Stateless Widget → UI structure
• Stateful Widget → Local UI behavior
• State management → App-wide logic
If you understand this flow, learning advanced tools becomes much easier.
Beginner Mental Model (Very Important)
Flutter UI is rebuilt frequently, and that is okay.
You should stop worrying about rebuilds and start focusing on:
• Clear widget structure
• Proper state placement
• Readable and reusable components
Flutter is designed to handle rebuilds efficiently.
Quick Decision Guide
Ask these questions before writing a widget:
Does it display static data? → Stateless Widget
Does it respond to user interaction? → Stateful Widget
Does the data change over time? → Stateful Widget
Is it only UI layout? → Stateless Widget
Final Thoughts for Beginners
Understanding Stateful vs Stateless Widgets is a turning point in your Flutter journey. Once this concept becomes clear, Flutter starts to feel simple, logical, and enjoyable.
Do not rush to advanced patterns too early. Build small apps, experiment with state changes, break widgets into smaller pieces, and observe how Flutter rebuilds the UI.
With practice, choosing between Stateful and Stateless widgets will become second nature.
This foundational knowledge will support everything you build in Flutter going forward.